Why Do You Soak Paneer Before Cooking? The Simple Trick for Perfect Texture
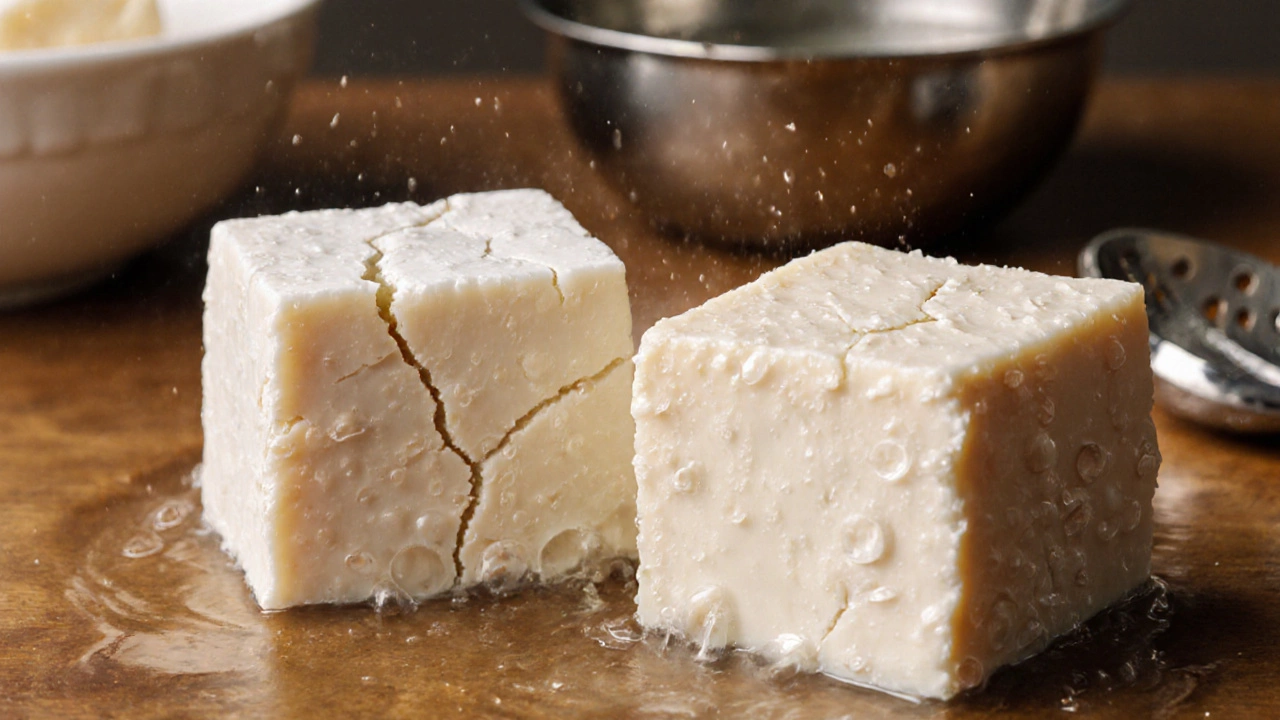
Soaking paneer before cooking transforms it from rubbery to soft and flavorful. Learn why this simple step makes all the difference in curries, tikkas, and homemade dishes.
When you think of paneer preparation, the simple process of turning milk into fresh, firm Indian cheese using heat and acid. Also known as Indian cottage cheese, it’s the backbone of hundreds of dishes—from palak paneer to paneer tikka—and it’s easier to make than you think. You don’t need fancy equipment, just milk, lemon juice or vinegar, and patience. Unlike Western cheeses that rely on rennet and aging, paneer is made in under an hour and eaten fresh. That’s why it’s so popular in homes across India—it’s fast, affordable, and tastes better than store-bought.
What makes paneer preparation different from other cheese-making methods? It’s all about the acid. You heat milk to just below boiling, then add lemon juice or vinegar. The acid causes the milk proteins to clump together, separating from the watery whey. Then you drain it, press it lightly, and you’ve got a block of soft, crumbly cheese. The key isn’t complexity—it’s control. Too little acid? The curds won’t form. Too much? The paneer turns gritty. Too hot? The milk scalds. Too cold? Nothing happens. It’s a tight balance, and that’s why so many people fail at homemade paneer.
Related to this is milk quality, the type of milk you use directly affects the yield and texture of your paneer. Whole milk gives you the richest, firmest result. Skim milk? You’ll get barely enough to cover the bottom of the pan. Even the fat content matters—2% milk might work in a pinch, but it won’t hold shape like full-fat milk. And don’t use ultra-pasteurized milk—it won’t curdle properly. This isn’t just theory; it’s backed by thousands of home cooks who’ve learned the hard way. Then there’s paneer texture, how soft, firm, or crumbly your final product turns out. This depends on how long you press it and how much water you drain. Press it for 15 minutes? Soft, melt-in-your-mouth paneer. Press it for an hour? Firm enough to grill. This isn’t magic—it’s physics. And if you’ve ever bought paneer from a store and wondered why it’s rubbery or bland, now you know why: it’s been sitting too long, or made with low-quality milk, or pressed too hard.
Most people think paneer preparation is something only chefs or dairy experts can do. But the truth? It’s one of the most accessible food projects you can try in your kitchen. No starter cultures. No aging. No special tools. Just a pot, a cloth, and a weight. And once you get it right, you’ll never buy it again. The difference isn’t subtle—it’s like comparing store-bought bread to fresh sourdough. You taste the freshness. You feel the texture. You know it’s yours.
Below, you’ll find real guides from people who’ve cracked the code—how much milk you actually need, why your paneer turned out crumbly, how to fix overcooked curds, and even how to use leftover whey. No fluff. Just what works.
Soaking paneer before cooking transforms it from rubbery to soft and flavorful. Learn why this simple step makes all the difference in curries, tikkas, and homemade dishes.