How to Make Paneer from Scratch at Home
Paneer Yield Calculator
Make Paneer from Milk
Calculate how much paneer you'll get from your milk. The article shows 1 liter of whole milk yields 200-250g paneer.
Your Paneer Yield
Yield varies based on milk fat content, pressing time, and technique. This calculator shows the typical range from the article.
Estimated Paneer Yield
0g - 0g
From 0 liters of milk
Important Notes:
- Requires whole milk (full-fat)
- Yield decreases with lower fat content
- Pressing time affects firmness and yield
Ever wondered how that soft, squishy block of white cheese in your butter chicken or paneer tikka is actually made? It’s not magic. It’s not imported. And you don’t need a fancy machine or special ingredients. You can make paneer from scratch in under an hour with just milk, lemon juice, and a bit of patience. Most people buy it pre-made from the store, but homemade paneer tastes cleaner, firmer, and way more satisfying. Plus, you know exactly what went into it-no additives, no preservatives, just milk and acid.
What Makes Paneer Different from Other Cheeses
Paneer is a fresh, unaged cheese. Unlike cheddar or mozzarella, it doesn’t melt when you cook it. That’s because it’s made by curdling milk with acid, not rennet. The curds are drained, pressed, and shaped into a block. No aging. No ripening. Just pure, milky goodness held together by protein.
Most store-bought paneer is made with full-fat milk, but some brands cut corners with skim milk or even powdered milk. That’s why homemade paneer is so much better-it’s dense, creamy, and holds its shape when grilled or fried. The fat content matters. If you use low-fat milk, you’ll get less yield and a crumbly texture.
What You Need to Make Paneer
You only need three things:
- 1 liter of whole milk (full-fat, not skimmed or 2%)
- 2-3 tablespoons of lemon juice or vinegar (fresh lemon juice works best)
- A clean cotton cloth or cheesecloth (a thin kitchen towel works too)
Optional: a heavy weight (like a cast-iron pan or a few cans of beans) to press the curds. And salt-if you like it slightly seasoned.
Don’t use ultra-pasteurized milk. It won’t curdle properly. Look for milk labeled “pasteurized” or “homogenized,” but not “UHT.” If you’re in the UK, brands like Arla or Freedom Foods work fine. Avoid organic milk labeled “raw” unless you’re experienced-it’s risky and unnecessary for paneer.
Step-by-Step: Making Paneer from Scratch
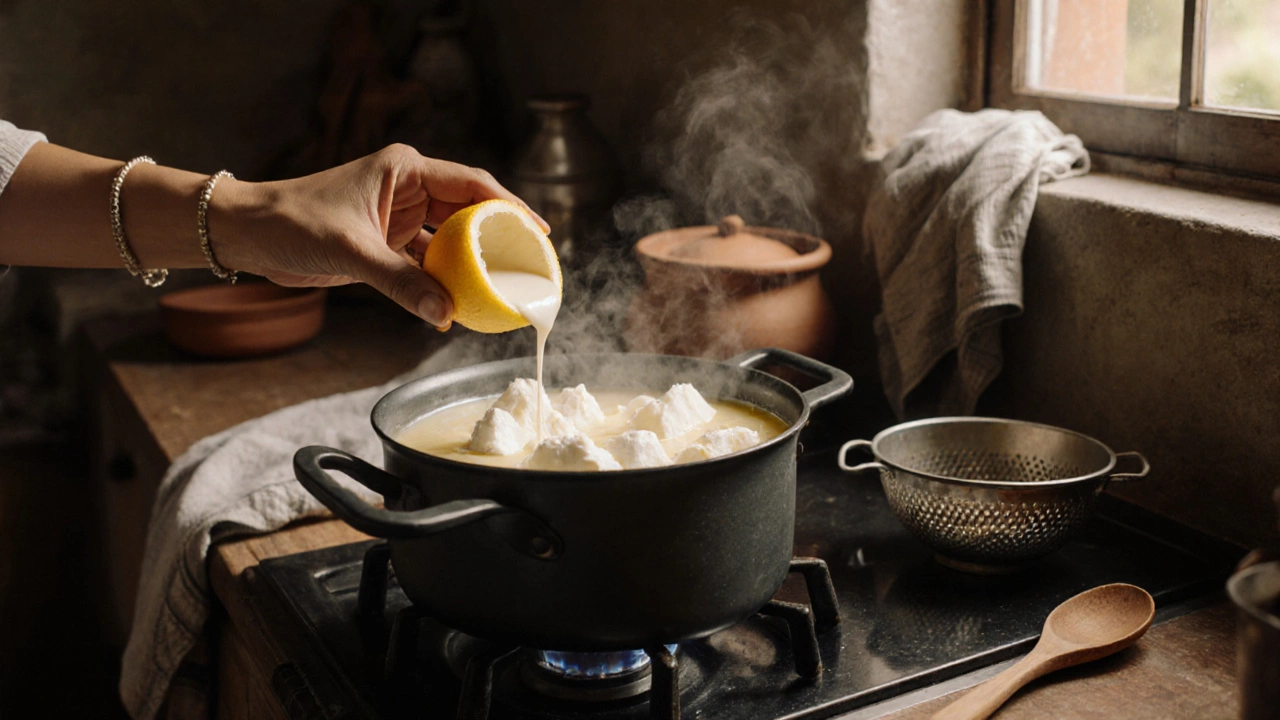
- Heat the milk slowly in a heavy-bottomed pot over medium heat. Stir occasionally to prevent the milk from sticking or scorching. Bring it to a gentle boil-about 8 to 10 minutes. You’ll see small bubbles around the edges. Don’t let it boil over.
- Turn off the heat and let the milk sit for 30 seconds. This lets the temperature stabilize before adding the acid.
- Add the lemon juice one tablespoon at a time, stirring gently after each addition. You’ll see the milk separate almost instantly: white curds floating in yellowish whey. If it doesn’t separate after 3 tablespoons, add a little more lemon juice, half a teaspoon at a time.
- Let it rest for 10 minutes. The curds will tighten up and become more distinct. Don’t rush this part.
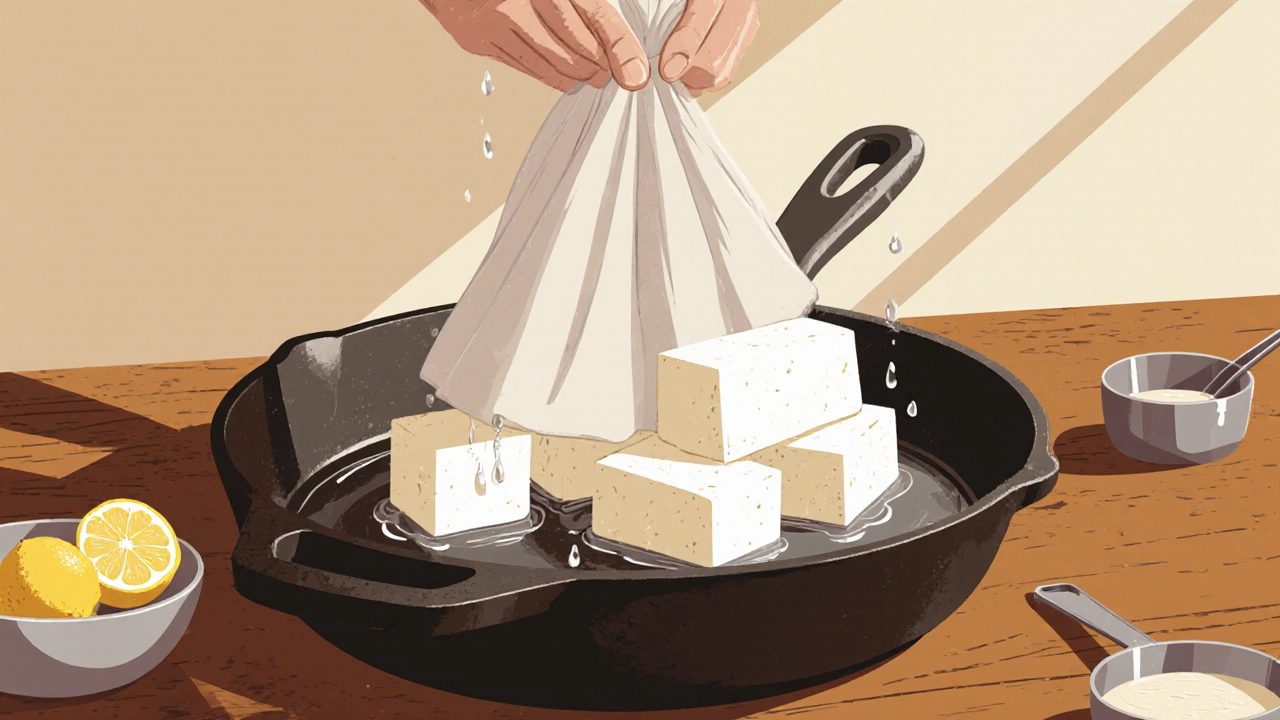
- Line a colander with your clean cloth. Pour the curds and whey into it. Let the whey drain for a few minutes.
- Gather the corners of the cloth and twist gently to squeeze out more liquid. Don’t wring it like a towel-just lift and let gravity do the work.
- Place the bundle on a flat surface and put a heavy weight on top. A cast-iron pan, a stack of books, or even a filled water bottle works. Press for 30 to 45 minutes. The longer you press, the firmer the paneer.
- Unwrap and slice. Your paneer is ready. Cut it into cubes, rectangles, or leave it whole. Use it right away or store it in water in the fridge for up to 3 days.
Why Your Paneer Might Fail
Here’s what usually goes wrong-and how to fix it:
- Paneer is too soft or crumbly → You didn’t press it long enough, or you used low-fat milk. Use full-fat milk and press for at least 40 minutes.
- No curds formed → Your milk was ultra-pasteurized or the lemon juice was old. Try fresh lemon juice and check the milk label.
- Paneer tastes sour → You added too much lemon juice. Start with 2 tablespoons and add more only if needed.
- It’s rubbery → You overcooked the milk or squeezed the curds too hard. Heat gently and press lightly.
How to Use Homemade Paneer
Once you’ve made it, you’ll want to use it everywhere. Here are a few simple ways:
- Paneer tikka → Cube it, marinate in yogurt, ginger, garlic, and spices, then grill or bake.
- Paneer butter masala → Fry the cubes lightly, then simmer in a tomato-cream sauce with garam masala.
- Paneer bhurji → Scramble it like eggs with onions, tomatoes, and turmeric.
- Snack time → Fry cubes until golden, sprinkle with chaat masala, and eat warm.
- Salads → Cube and chill it, then toss with cucumber, mint, and lemon dressing.
It also freezes well. Wrap the block in plastic, then foil, and keep it frozen for up to 2 months. Thaw in the fridge overnight before using.
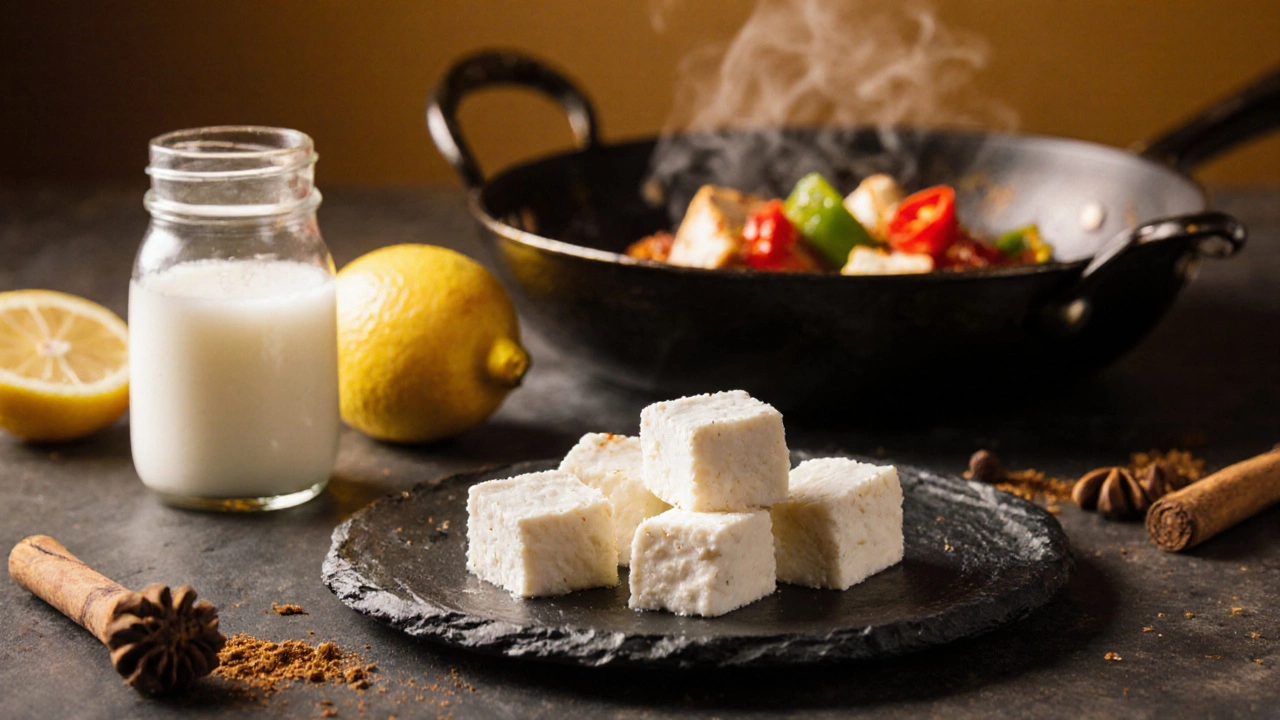
How Much Paneer Do You Get?
From 1 liter of whole milk, you’ll get about 200-250 grams of paneer. That’s roughly the size of a small brick. It’s not a lot, but it’s pure, concentrated milk protein. If you use 2 liters of milk, you’ll get nearly half a kilo. That’s enough for two big meals.
Compare that to store-bought paneer: a 250g block often costs £3-£4. Making it yourself costs less than £1 in milk. And you’re not paying for packaging, shipping, or markups.
Storage and Shelf Life
Store paneer submerged in cold water in an airtight container. Change the water daily if you’re keeping it longer than 2 days. It will last up to 5 days in the fridge. If you notice any sour smell or slimy texture, toss it. Fresh paneer should smell clean and milky.
Never leave paneer out at room temperature for more than 2 hours. It’s a fresh cheese-no preservatives mean it spoils faster than aged cheeses.
Why Make Paneer at Home?
There’s a reason this recipe has been passed down for generations in Indian households. It’s simple, cheap, and gives you control. You can adjust the texture, flavor, and firmness exactly how you like it. You’re not stuck with whatever the supermarket has that week.
Plus, there’s something deeply satisfying about turning milk into cheese with just lemon juice and heat. It connects you to a tradition that’s been around for thousands of years. You’re not just cooking-you’re making something that’s been part of daily life in India since before refrigerators existed.
Try it once. You won’t go back to store-bought.
Can I use vinegar instead of lemon juice to make paneer?
Yes, white vinegar works just as well as lemon juice. Use the same amount-2 to 3 tablespoons. Some people prefer vinegar because it’s more consistent and doesn’t add a citrus flavor. But lemon juice gives a slightly brighter taste. Both are fine.
Can I make paneer with plant-based milk?
No. Paneer relies on milk proteins-casein and whey-that only animal milk contains. Soy, oat, or almond milk won’t curdle the same way. You might get a soft gel, but it won’t hold shape or have the texture of real paneer. Stick to dairy milk.
Why does my paneer turn out grainy?
Grainy paneer usually means the milk was boiled too hard or stirred too much after adding acid. Heat the milk gently and stir only until it’s hot. Once you add lemon juice, stop stirring. Let the curds form naturally without disturbing them.
How do I make paneer softer?
Press it for less time-20 to 30 minutes instead of 45. Use a lighter weight, like a small bowl filled with water. You can also skip pressing entirely and just drain the curds in the cloth for 15 minutes. The result will be softer, almost like ricotta, and great for desserts or scrambles.
Can I salt the paneer while pressing?
Yes. Sprinkle a pinch of salt over the curds before gathering the cloth. It adds flavor without making it too salty. Most Indian recipes don’t include salt, but it’s a nice touch if you’re using paneer in salads or snacks.