How Long to Soak Dal: A Guide for Perfect Texture and Digestion
Dal Soaking Timer & Guide
Recommended Action
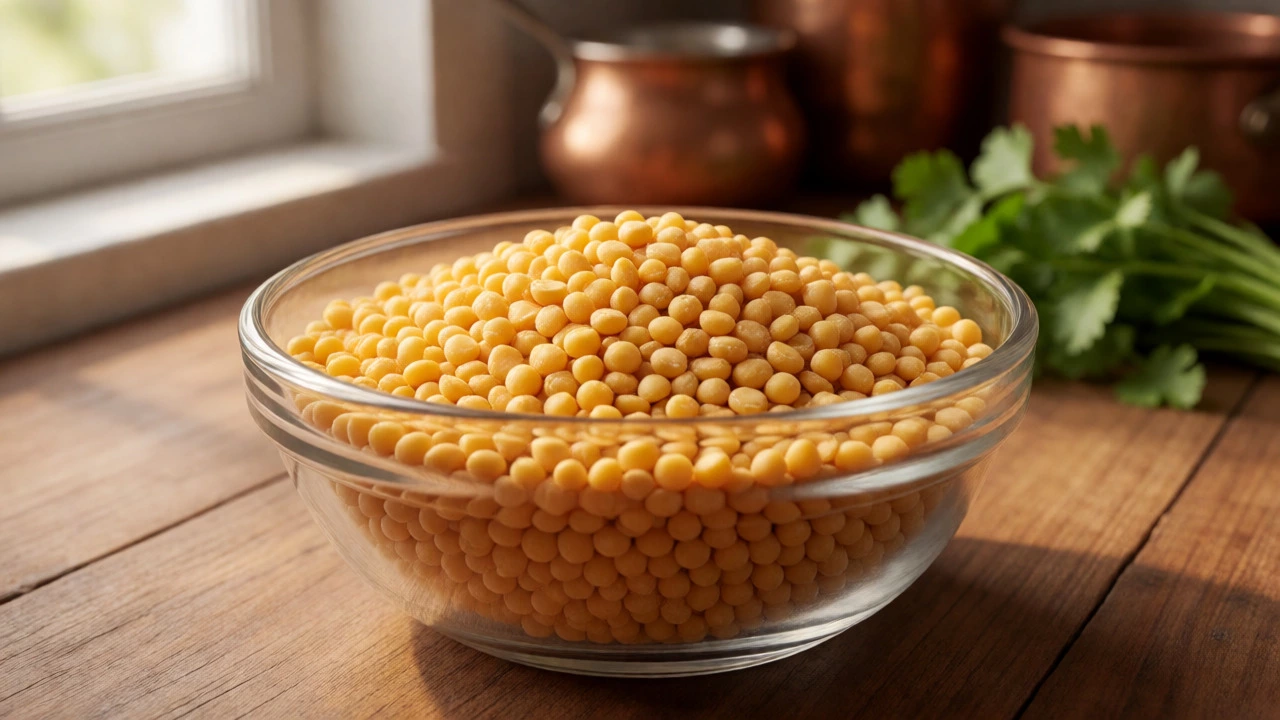
You’re standing in your kitchen, staring at a bowl of dry yellow lentils, wondering if you can skip the waiting game. Can you just throw them in the pot? The short answer is no-not if you want that creamy, melt-in-the-mouth texture that defines a great dal. Skipping the soak doesn’t just mean longer cooking; it often means gritty pulses and digestive discomfort. But how long is actually enough? Is ten minutes sufficient, or do you need to plan overnight?
The truth is, there isn’t one universal timer for every type of lentil. It depends entirely on what’s in your bowl. Are you making a quick Toor Dal (split pigeon peas) or a hearty Rajma (kidney beans)? Each has its own biological clock. Getting this wrong leads to either mushy soup or undercooked beans that taste like chalk. Let’s break down exactly how long each common Indian pulse needs to sit in water, why it matters for your gut, and how to speed up the process when you’re in a rush.
Why Soaking Isn’t Just About Speed
Most people think soaking is only about saving gas in the stove. While it does cut cooking time by half, the real magic happens on a chemical level. Dry legumes contain anti-nutrients like phytic acid and tannins. These compounds bind to minerals like iron and zinc, preventing your body from absorbing them properly. They also contribute to the notorious bloating many people experience after eating beans.
When you submerge dried pulses in water, two things happen. First, the seed coat softens, allowing heat to penetrate the core evenly during cooking. Second, enzymatic activity begins to break down those stubborn anti-nutrients. Studies suggest that soaking for at least 8 hours can reduce phytic acid content significantly, improving mineral bioavailability. If you skip this step, you might cook the dal until it’s physically soft, but your body will still struggle to digest it efficiently.
There’s also the matter of uniformity. Without soaking, the outer layers cook much faster than the inner kernels. You end up with a pot where some lentils are disintegrating while others remain hard centers. For dishes like Dal Tadka, where consistency is key, this unevenness ruins the dish.
The Golden Rules for Common Dals
Not all dals are created equal. Here is the specific breakdown for the most popular varieties found in Indian kitchens. Note that these times apply to whole or split pulses without husks, which are the standard "dals" used in everyday cooking.
| Pulse Type | English Name | Minimum Soak Time | Ideal Soak Time | Cooking Notes |
|---|---|---|---|---|
| Moong Dal | Mung Beans (Split) | 15-30 Minutes | 1 Hour | Very fast cooking; optional soak for smoother texture. |
| Masoor Dal | Red Lentils | 0 Minutes | 15 Minutes | Breaks down quickly; rinse well instead of soaking. |
| Toor Dal | Pigeon Peas (Split) | 30 Minutes | 2-4 Hours | Standard daily dal; benefits greatly from soaking. |
| Chana Dal | Bengal Gram (Split) | 1 Hour | 4-6 Hours | Dense structure; needs time to soften fully. |
| Urad Dal | Black Gram (Split) | 2 Hours | 6-8 Hours | Often used in batters; critical for fermentation. |
| Whole Moong | Green Mung Beans | 2 Hours | 4-6 Hours | Husk remains; takes longer than split version. |
Notice the huge gap between Moong Dal and Urad Dal. This isn't arbitrary. Moong dal has been split and polished, removing the tough outer skin. Urad dal, especially when used for idli or dosa batter, relies on that structural integrity to ferment. If you under-soak Urad, your batter won't rise. If you over-soak Moong, it turns into paste before you even turn on the flame.
Quick-Soak Methods for Busy Weeknights
Life happens. Sometimes you forget to put the dal out in the morning, and dinner is in an hour. Don't panic. You don't have to serve undercooked beans. There are two reliable ways to hack the soaking process.
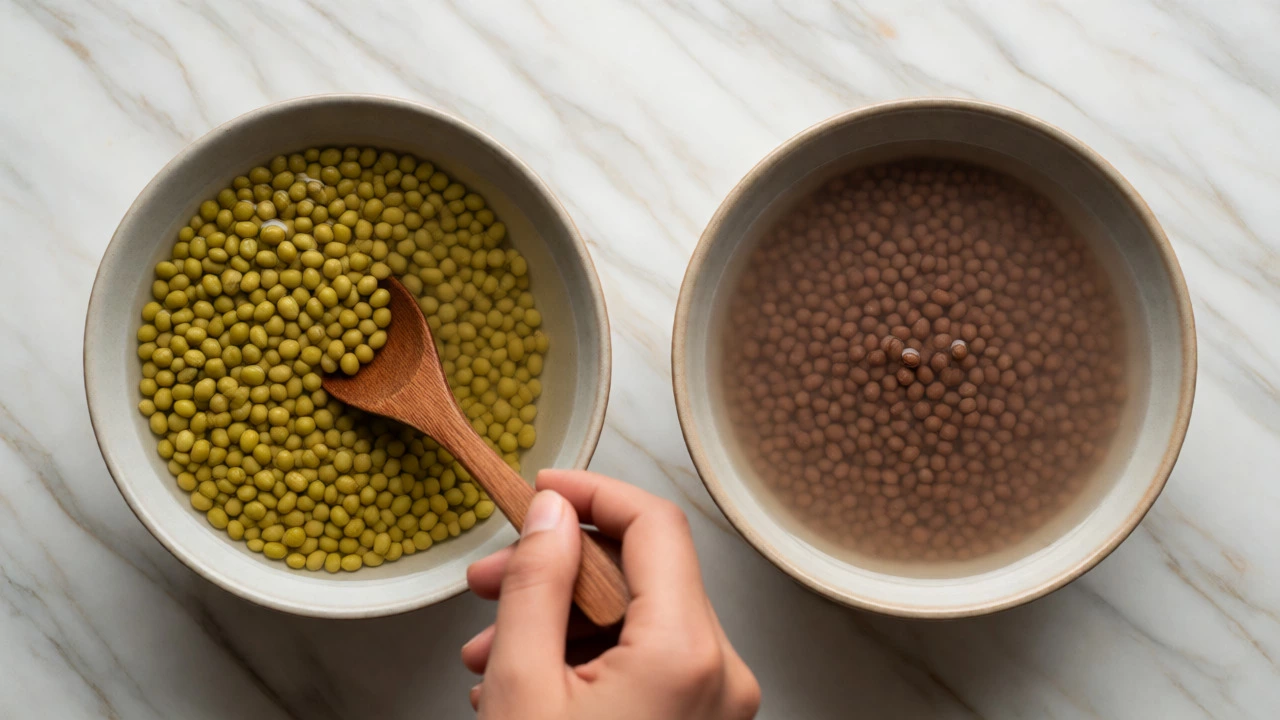
The first is the Hot Water Soak. Instead of cold tap water, boil water and pour it directly over your cleaned dal. Cover the bowl tightly with a plate or lid. Let it sit for 30 to 45 minutes. The heat accelerates the absorption rate significantly. This works exceptionally well for Toor and Chana dal. Just remember to drain this water thoroughly before cooking, as it contains the leached-out oligosaccharides responsible for gas.
The second method is the Boiling Rinse. Bring a pot of water to a rolling boil. Add your washed dal and let it boil for just 2-3 minutes. Turn off the heat, cover the pot, and let it sit for 1 hour. This essentially pre-cooks the exterior slightly while hydrating the interior. When you go to make your actual dal later, discard this water, add fresh water, and finish cooking. This cuts total active cooking time by nearly 50% compared to starting from scratch.
Water Quality and Temperature Matters
It’s not just about time; it’s about the medium. Always use filtered or clean drinking water. Tap water in many parts of the UK and India can be hard, meaning it has high mineral content. Hard water can interfere with the softening process, leaving the skins tougher than they should be. If you live in a hard water area, consider adding a pinch of baking soda to the soaking water. This alkaline environment helps break down pectin in the cell walls, speeding up softening. However, use it sparingly-a quarter teaspoon per cup of dal is plenty. Too much baking soda can destroy thiamine (Vitamin B1) and give your dal a soapy taste.
Temperature also plays a role. In warmer months, like right now in September, bacterial growth can occur if you leave dal out for more than 4 hours. If you’re planning an overnight soak, keep the bowl in the refrigerator. Cold soaking takes longer-add an extra hour to your recommended times-but it keeps the dal safe and prevents fermentation smells before you’re ready to cook.
Signs Your Dal Was Soaked Correctly
How do you know when it's ready? Visual cues are your best friend. Properly soaked dal should look plump and swollen. The color might appear slightly lighter than when it was dry. Most importantly, try pressing a grain between your thumb and forefinger. It should yield easily without cracking or feeling rock-hard. If it feels rubbery or resistant, it needs more time.
Another test is the float check. After soaking, skim off any floating debris or broken grains. Good quality dal sinks. If many pieces float after a proper soak, it might indicate old stock or poor storage conditions, though this is rare if you buy from reputable sources.
Once soaked, always rinse the dal again in fresh water. You’ll notice the water runs cloudy. That cloudiness is starch and dust washing away. Discard that water. Using the soaking water to cook your dal is a common mistake. It reintroduces the flatulence-causing sugars you just tried to remove. Always start your cooking process with fresh, clean water.
Troubleshooting Common Soaking Mistakes
Even experienced cooks slip up. Here are the most frequent issues and how to fix them.
- The Dal is Still Hard: Did you use hard water? Try adding a tiny bit of lemon juice or vinegar to the cooking water next time, not the soaking water. Acid helps tenderize beans. Alternatively, ensure your pot has a tight-fitting lid to trap steam, which aids in breaking down fibers.
- The Dal Turned Mushy: You likely soaked too long, especially with delicate splits like Masoor or Moong. Next time, reduce the soak time by half. Also, avoid stirring the dal excessively once it starts boiling, as this breaks the grains apart.
- Bad Smell During Soak: If your dal smells sour or yeasty after soaking, bacteria have started fermenting it. This happens in hot weather if left out too long. Rinse thoroughly. If the smell persists, discard it. Fresh dal should smell earthy and neutral.
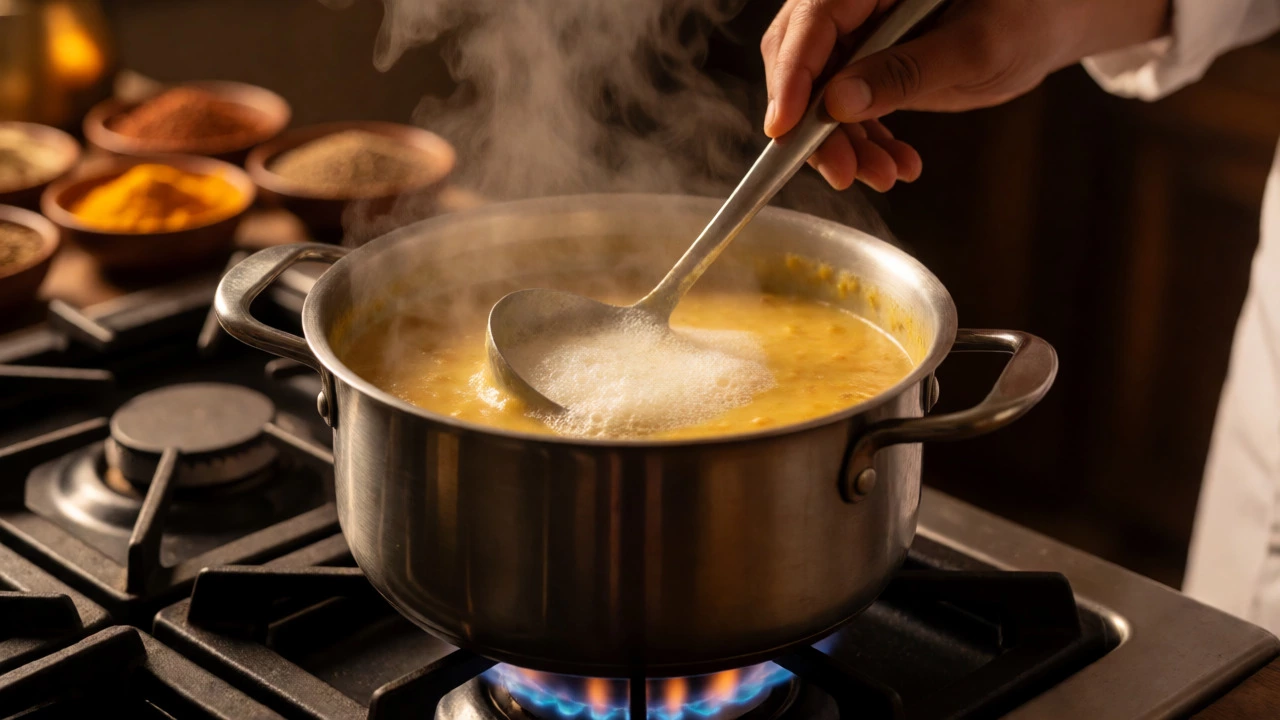
- Foaming During Cooking: Even after soaking, dal may foam when it boils. Skim this foam off. It consists of coagulated proteins and saponins. Removing it results in a clearer, cleaner-tasting broth.
Final Thoughts on Timing
Soaking dal is a small investment of time that pays huge dividends in flavor and health. For most daily meals involving Toor or Moong, a 30-minute soak is the sweet spot. It’s enough to soften the grains and wash away impurities without turning them into mush. For denser pulses like Chana or Urad, respect their density and give them several hours or an overnight rest in the fridge.
Remember, cooking is adaptable. If you’re short on time, use the hot water trick. If you’re planning ahead, overnight soaking yields the creamiest results. Listen to your lentils-they tell you when they’re ready through texture and appearance. Once you master this simple prep step, your dal recipes will consistently achieve that restaurant-quality smoothness that makes comfort food truly comforting.
Can I cook dal without soaking it at all?
Yes, you can, particularly with red lentils (Masoor) and split mung beans (Moong). These varieties cook very quickly and break down naturally. However, skipping the soak for other types like Toor or Chana will result in longer cooking times, potentially uneven textures, and higher levels of anti-nutrients that can cause digestive issues. For best results, a quick 15-30 minute rinse-and-soak is always recommended.
Should I soak dal in hot or cold water?
Cold water is ideal for long soaks (overnight) to prevent premature fermentation and spoilage. Hot or warm water is excellent for quick soaks (under 2 hours) as it speeds up hydration. Never use boiling water for extended periods as it can cook the outside of the grain while leaving the inside raw, leading to uneven cooking.
Do I throw away the soaking water?
Yes, always discard the soaking water and rinse the dal with fresh water before cooking. The soaking water contains dissolved oligosaccharides (complex sugars) that are difficult for humans to digest and are the primary cause of gas and bloating. Rinsing removes these compounds along with dust and impurities.
How long can soaked dal stay in the fridge?
Soaked dal can be stored in the refrigerator for up to 24 hours. Beyond that, it may begin to ferment or develop a sour smell. If you soak dal overnight, keep it covered in fresh water in the fridge. Drain and rinse well before cooking the next day.
Does soaking affect the nutritional value of dal?
Soaking generally improves nutritional availability. It reduces phytic acid, which otherwise binds to minerals like iron, zinc, and calcium, blocking their absorption. While some water-soluble vitamins like Vitamin B1 may be lost in the discarded soaking water, the net gain in mineral absorption and digestibility outweighs this minor loss.