How Long Should You Soak Urad Dal for Perfect Dosa Batter?

So, you've made up your mind to plunge into the world of dosas, those delicious, crispy pancakes from southern India. But wait, before you kick-start your culinary adventure, you might be wondering about the linchpin of this whole operation: urad dal. It's a small, humble-looking bean that's crucial for making that perfect dosa batter. So, how long should you soak it? This isn't just about throwing it in water and crossing your fingers. There's a bit more to it!
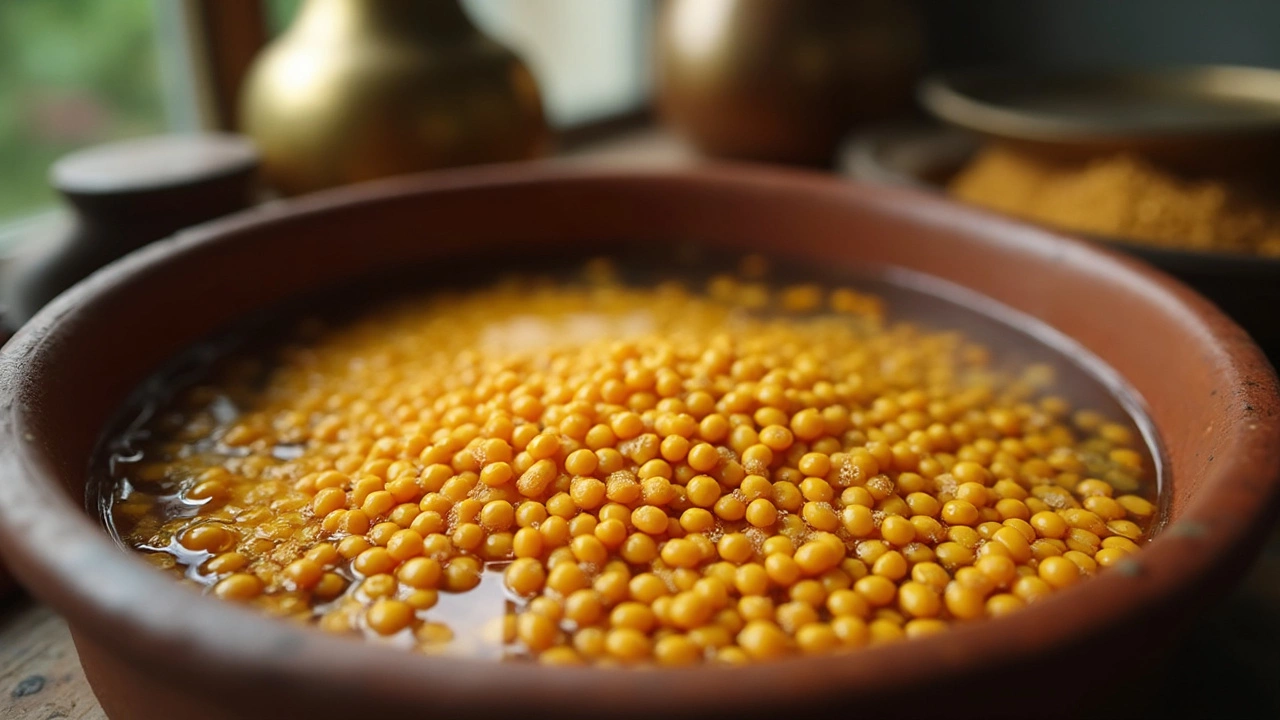
To get the fluffiest, most golden-brown dosas, you'll want to soak urad dal for a good amount of time. Generally, 4 to 6 hours is the sweet spot. This allows it to absorb enough water, making it easier to grind into a smooth paste, which is key for your batter. If you ever find yourself in a rush, don't fret—I've got some tips to speed this up without compromising on taste. But first, let's talk about why soaking is non-negotiable.
- Why Soak Urad Dal?
- Recommended Soaking Time
- Tips for Faster Soaking
- Achieving the Right Consistency
- Storing and Reusing Soaked Urad Dal
- Troubleshooting Common Issues
Why Soak Urad Dal?
So, you've got your eyes set on whipping up some crackling dosas? Well, it all starts with soaking urad dal. But why bother with this step, you ask? It’s not just some old wives’ tale; there's science behind it!
When you soak urad dal, you're essentially softening those little beans. This softening is crucial because it allows you to grind them into the smooth, creamy paste that dosas adore. Without soaking, you'd end up with a coarse batter that’s impossible to spread thinly on a pan. That means no crispy edges or melt-in-your-mouth centers—yikes!
Soaking also amps up the nutritional game. It helps break down some of the difficult-to-digest parts of the dal, making it not just a feast for your taste buds but kinder on your stomach. Plus, it aids in protein and vitamin absorption when the dosas are finally devoured.
Oh, and here’s a neat little trick: soaking reduces cooking time. The water does the hard work of breaking down the dal while you're off doing more exciting things, like walking Max or binge-watching your favorite show.
- Improves grinding for batter consistency.
- Makes dal easier to digest.
- Boosts nutritional benefits.
- Reduces overall preparation time.
So, always remember, if you skip the soaking step, you might just miss out on that dosa-street-parlor taste everyone raves about!
Recommended Soaking Time
When it comes to nailing that perfect dosa batter, timing is everything, especially with urad dal soaking time. You don't want to leave it too short, or it won't grind well. Oversoaking isn't ideal either, as it can get mushy, affecting both taste and texture. So, what's the magic number?
The ideal soaking time for urad dal is around 4 to 6 hours. During this time, the dal absorbs water, softening up just right. This soaking period prepares the urad dal to be ground smoothly, ensuring a silky batter that's perfect for achieving crispy, golden dosas. If you're planning a morning dosa breakfast, soak the dal overnight, and you're set for the next day. But remember, this timeline can slightly vary based on the temperature. Warmer weather might cut soaking time to 3-4 hours while cooler conditions could extend it to 7 hours, especially if your kitchen tends to be chilly.
Now, if you're short on time, there's a little trick up the sleeve. Soaking the urad dal in warm water can speed things up a bit. Why? Well, warm water helps the dal plump up faster. Just make sure the water isn't too hot, or you might end up partly cooking it, which is a total no-go for dosa batter.
Tips for Faster Soaking
In today's fast-paced world, who has the time to wait for hours just to soak beans? If you're looking to whip up dosa batter in a hurry, there are some handy tricks you can use to speed up the urad dal soaking time without compromising on quality.
First off, the simplest hack is to use warm water. Filling up your soaking bowl with warm, not hot, water can cut down the soaking time by around an hour. The warmth helps the dal absorb water quicker, which means you can get to the grinding sooner. But be cautious – too hot, and you risk cooking it prematurely!
Another technique is to grind the dal with less water after a short soak and let it sit for an hour or so post-grinding. This allows the semi-ground dal to soak up any remaining moisture even faster, ensuring a smooth paste when fully ground.
If you're really pressed for time, consider using a pinch of baking soda. A teensy bit in your soaking water can help soften the dal in record time. But remember, a little goes a long way, or you might end up with a weird taste.
Here’s a quick recap of these tips:
- Use warm water to reduce soaking time.
- Pre-grind with minimal water and let it sit.
- Add a pinch of baking soda to the soaking water.
These shortcuts can be game-changers, especially when you're in a pinch but still craving those delicious, perfectly crispy dosas. So next time life gets hectic, remember these hacks to ensure your dosa batter is ready to roll in no time!

Achieving the Right Consistency
Alright, now that we've soaked our urad dal just right, it's time to get down to business with the batter consistency. You'd think this step would be a breeze, but getting that perfect batter can be a bit tricky. It's like Goldilocks and the Three Bears—you don't want it too thick or too runny. So, how do we hit that sweet spot?
The key is to grind the soaked urad dal into a smooth, creamy paste. You're aiming for something that's slightly thicker than pancake batter but not as dense as cake mix. It should fall smoothly off a spoon. If you're using a traditional stone grinder, word on the street is that it gives an even smoother consistency. But a good ol' mixer-grinder works just fine for most of us.
"The perfect dosa batter is a balance between grainy and smooth." – Saroja Reddy, chef and dosa enthusiast.
Here's a simple test: Take a spoon of your dosa batter and let it slide off. If it forms a peak and then settles slowly, you're golden. Too runny? Add a bit more ground rice. Too thick? Just a splash of water should help.
- Use chilled water if you're blending the dal for a long time. It keeps the batter from overheating, preserving its airy consistency.
- Keep an eye on the soaking time—soaked too long, the dal might get fermented early, affecting your batter's texture and taste.
- Add a pinch of salt after grinding. It helps with fermentation too.
Not sure if you’ve nailed it? Don't worry. It takes a couple of tries to get it perfect. And remember, it's all about adjusting to find what works best for you and your taste buds for that impeccable dosa batter.
Storing and Reusing Soaked Urad Dal
Once you've mastered the art of soaking urad dal, you might find yourself with more than what you need for your dosa batter. What to do with the extra soaked dal? No worries—you can easily store and reuse it.
The best way to keep soaked urad dal fresh is by using the fridge. After draining the excess water, transfer the soaked dal into an airtight container. Pop it in the fridge, and it's good to go for about 2 to 3 days. This way, you won't have to keep soaking new batches every time dosas are on the menu.
When you're ready to make another batch of batter, just take it out and rinse it quickly under cold water. Then, proceed to grinding. Easy-peasy, right?
If you're thinking of long-term storage, freezing is your friend. Divide the dal into portions, say enough for one batter-making session, and store in freezer-safe bags or containers. They can go straight from the freezer to the blender after a quick rinse to thaw them a bit.
Keep in mind: after freezing, the texture might slightly change. But don’t let that put you off—it’ll still work fine in your dosa batter recipe.
| Storage Method | Duration |
|---|---|
| Refrigeration | 2-3 Days |
| Freezing | Up to 1 Month |
Knowing how to store and reuse your soaked urad dal not only saves you time but also cuts down on waste. So, next time you prepare too much, you’ve got options. Less time preparing means more time enjoying those scrumptious dosas!
Troubleshooting Common Issues
Even the best cooks hit a few bumps on the road to dosa perfection. Don't sweat it—here's how to tackle some common dosa batter issues that might come your way.
Batter Too Runny? If your batter turns out more like soup than a smooth paste, it might be due to over-soaking or adding too much water while grinding. To fix this, you can add a tablespoon of rice flour at a time until you reach the desired consistency. Rice flour helps thicken the batter, giving you that perfect dosa crispiness.
Batter Not Fermenting? A stagnant batter is usually a sign of not enough warmth. Try placing your fermenting batter in a warm spot, like inside an oven with just the light on or near a sunny window. If it's winter, you might need to give it a bit more time to bubble up.
Dosas Stick to the Pan? If your dosas are stubbornly clinging to the pan, it could be due to the pan temperature or batter consistency. Make sure your tawa is properly seasoned and heated before pouring the batter. You can test if it’s ready by sprinkling a bit of water on it—if it sizzles, you're good to go!
Dosas Tearing? If your dosas are falling apart, your batter might not be mixed well. Give it a good stir before use, ensuring that the urad dal and rice are well combined. Also, try using a flat ladle to spread the batter more evenly.
If these seem overwhelming, remember everyone faces these issues at some point. The key is patience and trying different tweaks to see what works best with your setup. And trust me, even the imperfect dosas are totally worth the effort!