Best Time to Add Oil to Roti Dough for Perfect Softness
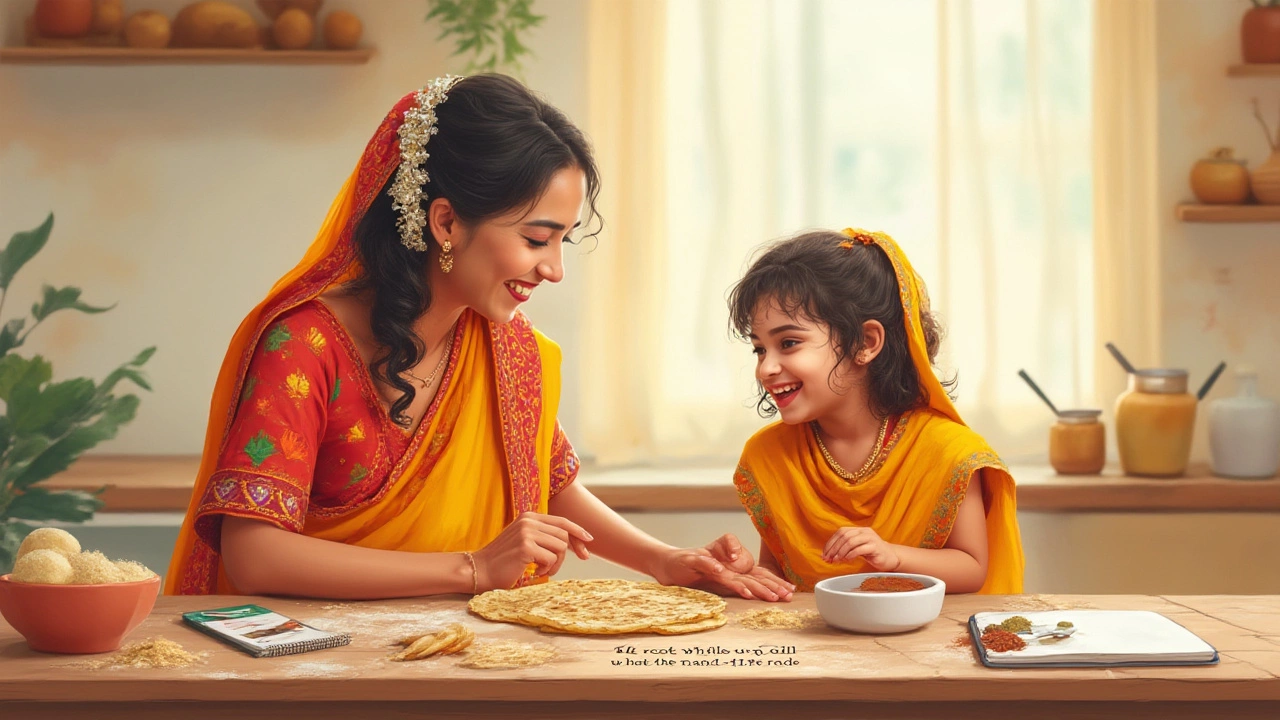
Everyone has that memory of biting into a roti from home: soft, a bit chewy, and warm enough to tear with just a gentle tug. But let’s be honest, not all rotis make the cut. Some turn out dry as cardboard, while others end up so oily you need a stack of napkins. Here’s the weird part—most people don’t actually agree on when to put oil into the dough. Folks argue about whether oil goes in right with the flour, whether you drizzle at the end, or if you skip it in the dough and just rub it on later. It’s become something of a silent rivalry in kitchens across India and beyond. What’s the real answer? Let’s get right into what actually happens, backed with what professional cooks do and a few tricks that set grandmother-level rotis apart from the rest.
Why Oil Matters in Roti Dough
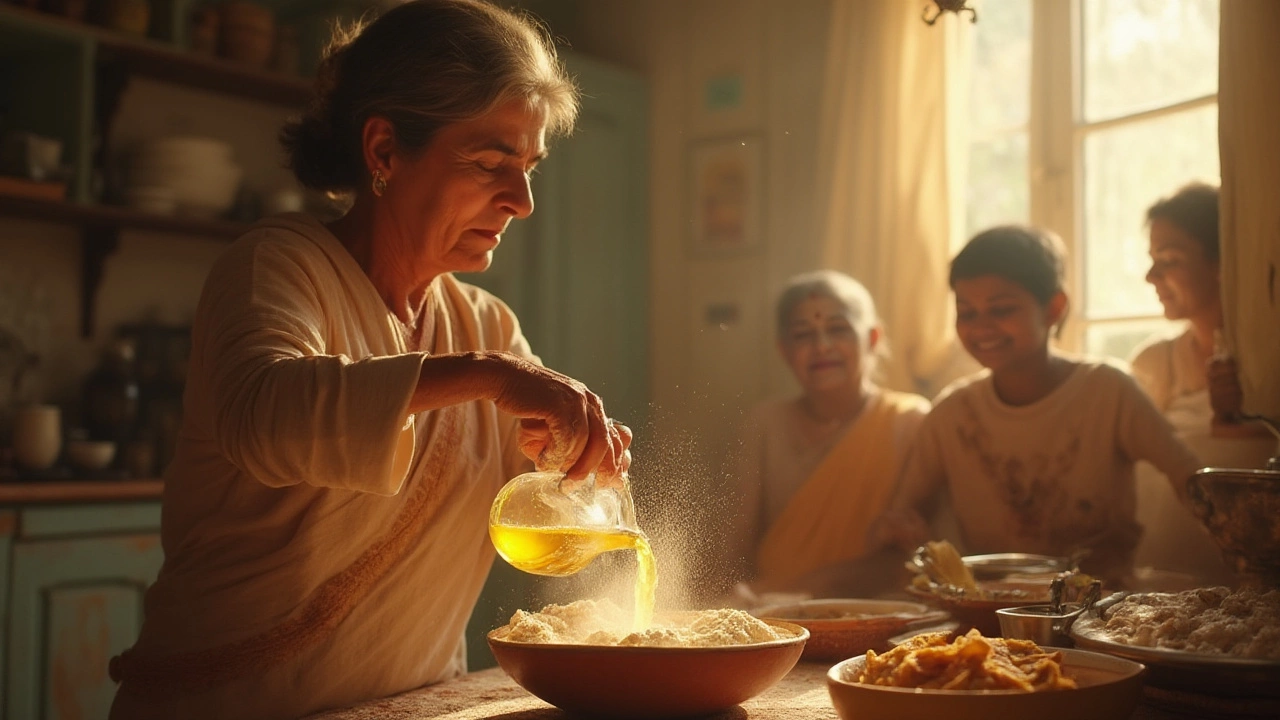
If you’ve ever peeked into the kitchen of a busy dhaba or watched a home cook prep for a big meal, you’ll have seen the same dance: a big bowl of whole wheat flour, splashes of warm water, and oil that appears at an oddly specific time. Most folks know oil plays a part, but not everyone gets why. Oil in roti dough isn’t just about taste—it changes the actual structure of the bread. Here’s how.
Oil acts like a barrier for gluten. Gluten gives roti its chewy body, but too much of it can mean tough, dense bread. When oil coats the flour early on, it blocks some of those gluten connections, leading to a softer roti that bends without cracking. Indian wheat (atta) usually has a bit less protein than western bread flour, which helps, but adding oil ensures softness, especially if you’re not using freshly milled grains.
Let’s talk numbers: a lot of home cooks use about two teaspoons of oil for every two cups of flour, but some push that up to a tablespoon if they want really tender rotis. If you’re skeptical, try testing this side by side. One batch of dough without any oil often turns out stiffer and dries out minutes after coming off the tawa. With oil, they stay pliable and don’t get rubbery—that’s the secret behind rotis that still taste good hours later.
But oil does a bit more. It gives the dough a silkier texture as you knead and helps water mix better, leading to fewer cracks. Restaurants often use neutral oils like sunflower, canola, or even a touch of melted ghee (which adds depth). There’s a chemical reason for that luscious mouthfeel you get at your favorite thali joint—fat literally coats the flour particles and keeps them from clustering up in tough lumps.
The story doesn’t end there. Oil also acts as a shield during cooking, helping each roti puff up evenly. If you’ve seen those perfect phulkas with balloon-like air pockets, thank oil for helping the steam do its magic before the water can escape. Some cooks sprinkle a bit extra oil and knead again after initial mixing, while others massage it in just before rolling out the rotis; both methods work, but the timing tweaks the end result. Curious about the best routines? Let’s get into the specifics of when and how to work oil into your flour for that elusive perfect roti.

When Should You Add Oil While Making Roti Dough?
Kitchen traditions run deep, and people defend their routines like sports fans picking teams. Some say adding oil first, right to the dry flour, creates the best texture. Others insist on drizzling oil only after you’ve mixed water and the dough comes together. A third camp mixes, kneads, lets the dough rest, then adds oil in the final moments. So which one hits the sweet spot?
The three main styles are:
- Oil First (in the flour): Pour oil onto the flour, rub it in gently with your fingers until it resembles sandy crumbs, then add water a bit at a time. This technique is called "moyan" or "moyen" in North Indian kitchens. It’s like making shortcrust pastry—you’re coating each flour grain before gluten develops.
- Oil in the Middle: Water is added to flour first. Once a soft, sticky dough forms, oil is drizzled on, and you keep kneading until everything feels smooth. Think of this as sealing the dough with a soft finish—oil works into the already-formed structure, making it satiny and a tad richer.
- Oil Last (after kneading): The dough is kneaded fully with flour and water alone. Once the gluten has started to form and the dough is bouncy (takes about 8-10 minutes), oil is rubbed onto the outside, almost like lotion, then the dough is left to rest. This method helps trap moisture during resting but doesn’t always penetrate the inner dough.
If you chase tradition, you’ll find most North Indian homes favor oil in the flour from the start, especially for chapatis and parathas. It keeps things fluffy and soft, even hours later. In cities like Mumbai and Pune, some modern cooks stir oil in after mixing to save time, especially when kneading by machine (like a stand mixer). Spice shops and street vendors have their own rules, often adding oil both at the start and as a glaze after rolling, for maximum softness and surface sheen.
Scientific testing (yep, people studied rotis!) shows oil in at the start reduces gluten strength somewhat, but not enough to ruin the chew—just enough to make things light. Flours with higher protein or coarser grains benefit especially from early oil, since they tend to get tough if you overwork them. Soft wheat, which is common in Gujarati or Bengali rotis, is more forgiving.
Take a look at how the timing of oil affects typical roti qualities:
| Oil Added | Texture | Softness After 4 Hours | Ease of Rolling | Best For |
|---|---|---|---|---|
| At start (in flour) | Very soft, slightly crumbly | Keeps soft | Easy | Chapati, paratha |
| In middle (after mixing water) | Soft, silky | Stays moist | User's choice | Everyday rotis, machine kneading |
| Last (on dough) | Slight gloss, chewy inside | Often dry | A bit tricky | Emergency fixes |
Your best shot for a classic, home-style roti straight from any North Indian kitchen is to add oil to the flour before you start mixing water. Rubbing it in by hand doesn’t just sprinkle flavor—it creates a protective shield. But if you’re pressed for time, you can add oil mid-way and still end up with soft results, especially if you give your dough a decent rest afterward (about 20-30 mins).
Let’s not forget, some cooks skip oil in the dough entirely and just brush a bit on the cooked roti right as it comes off the pan, but this only adds surface shine and doesn’t stop drying. If you want chapatis to pack on a journey or serve hours after cooking, oil in the dough is the trick you’re after.
Pro Tips, Mistakes, and Roti Wisdom
So you’ve picked a method—but there’s finesse beyond oil timing. Even seasoned roti-makers learn new tricks now and then. Here’s how to avoid rookie mistakes and nudge every batch closer to perfection.
- Type of oil matters: Neutral oils (like sunflower, canola, or refined groundnut) are safest. Mustard oil gives a sharp flavor—great for certain parathas but not everyone’s favorite. Desi ghee is a luxury but delivers unmatched aroma for festivals or special meals.
- Amount counts: Too much oil will make the dough greasy, and rotis might not puff well. Two to three teaspoons per two cups of flour is the sweet spot. Pile on more and you’ll get closer to a poor version of paratha instead of soft roti.
- Water temperature helps: Slightly warm water (never boiling) works best for soft dough. Cold water can make the dough tough, especially in winter kitchens.
- Don’t rush the rest: Let the dough sit for at least 20 minutes once mixed. This helps the grains hydrate and lets the oil seep into every crevice, improving elasticity.
- Knead thoroughly: Under-kneaded dough just won’t give you soft rotis—aim for 8-10 minutes with your hands (or 5-6 minutes in a mixer). The dough should bounce back when poked.
- Use a damp cloth during rest: Cover your dough with a slightly moist cloth rather than plastic; this keeps the surface from drying without trapping too much moisture, which can make it sticky.
Ever heard someone say their rotis never puff up? The dough might be too hard, or they skipped oil altogether. Another classic move is to use too much flour while rolling, which dries out the surface—use just a dusting, and keep the dough soft.
Some chefs drizzle a tiny bit of oil over each small dough ball before rolling it out. Others, especially in busy kitchens, rub a bit extra oil on the rolled disc itself before it hits the tawa, which helps create those picture-perfect brown spots. If you want your rotis soft hours after cooking, stack them in a roti container or wrap in a clean cloth right off the pan—steam keeps them moist, and the little bit of oil seals that softness in.
All that said, roti is about touch, smell, and tradition—not just measurements. The next time you see someone squabbling about when to add oil, just smile. The secret isn’t exactly when you pour it in, but how you knead, rest, and treat your dough. Get hands-on, and soon you’ll be churning out the kind of rotis people reach for before anything else on the table. And hey, if you mess up one batch? Roll up your sleeves and try again—perfect roti is a journey, not a single trick.